This tutorial follows the steps in Django quickstart tutorial 2
- Requirements
- Cloud Spanner Database setup
- Configure your environment variables
- Migrate
- Create models
- Make migrations
- SQL migrate
- Django Shell
- Django Admin
Requirements
Please ensure that you’ve followed the previous tutorial
Cloud Spanner Database setup
Please edit the DATABASES section of your mysite/settings.py file to the following:
DATABASES = {
    'default': {
        'ENGINE': 'spanner.django',
        'PROJECT': 'appdev-soda-spanner-staging',
        'INSTANCE': 'django-dev1',
        'NAME': 'db1',
    }
}INSTALLED_APPS = [
'spanner.django',
...
]Configure your environment variables
and now in this step, you might want to refresh your running Django server, by hitting Ctrl-C.
GOOGLE_APPLICATION_CREDENTIALS=creds.json python3 manage.py runserverwhich will print the following
Watching for file changes with StatReloader
Performing system checks...

System check identified no issues (0 silenced).

You have 17 unapplied migration(s). Your project may not work properly until you apply the migrations for app(s): admin, auth, contenttypes, sessions.
Run 'python manage.py migrate' to apply them.

November 26, 2019 - 02:28:54
Django version 2.2.1, using settings 'mysite.settings'
Starting development server at http://127.0.0.1:8000/
Quit the server with CONTROL-C.
and if you go to Cloud Spanner, you’ll see that an instance django-dev2 and a database db1 were both created!
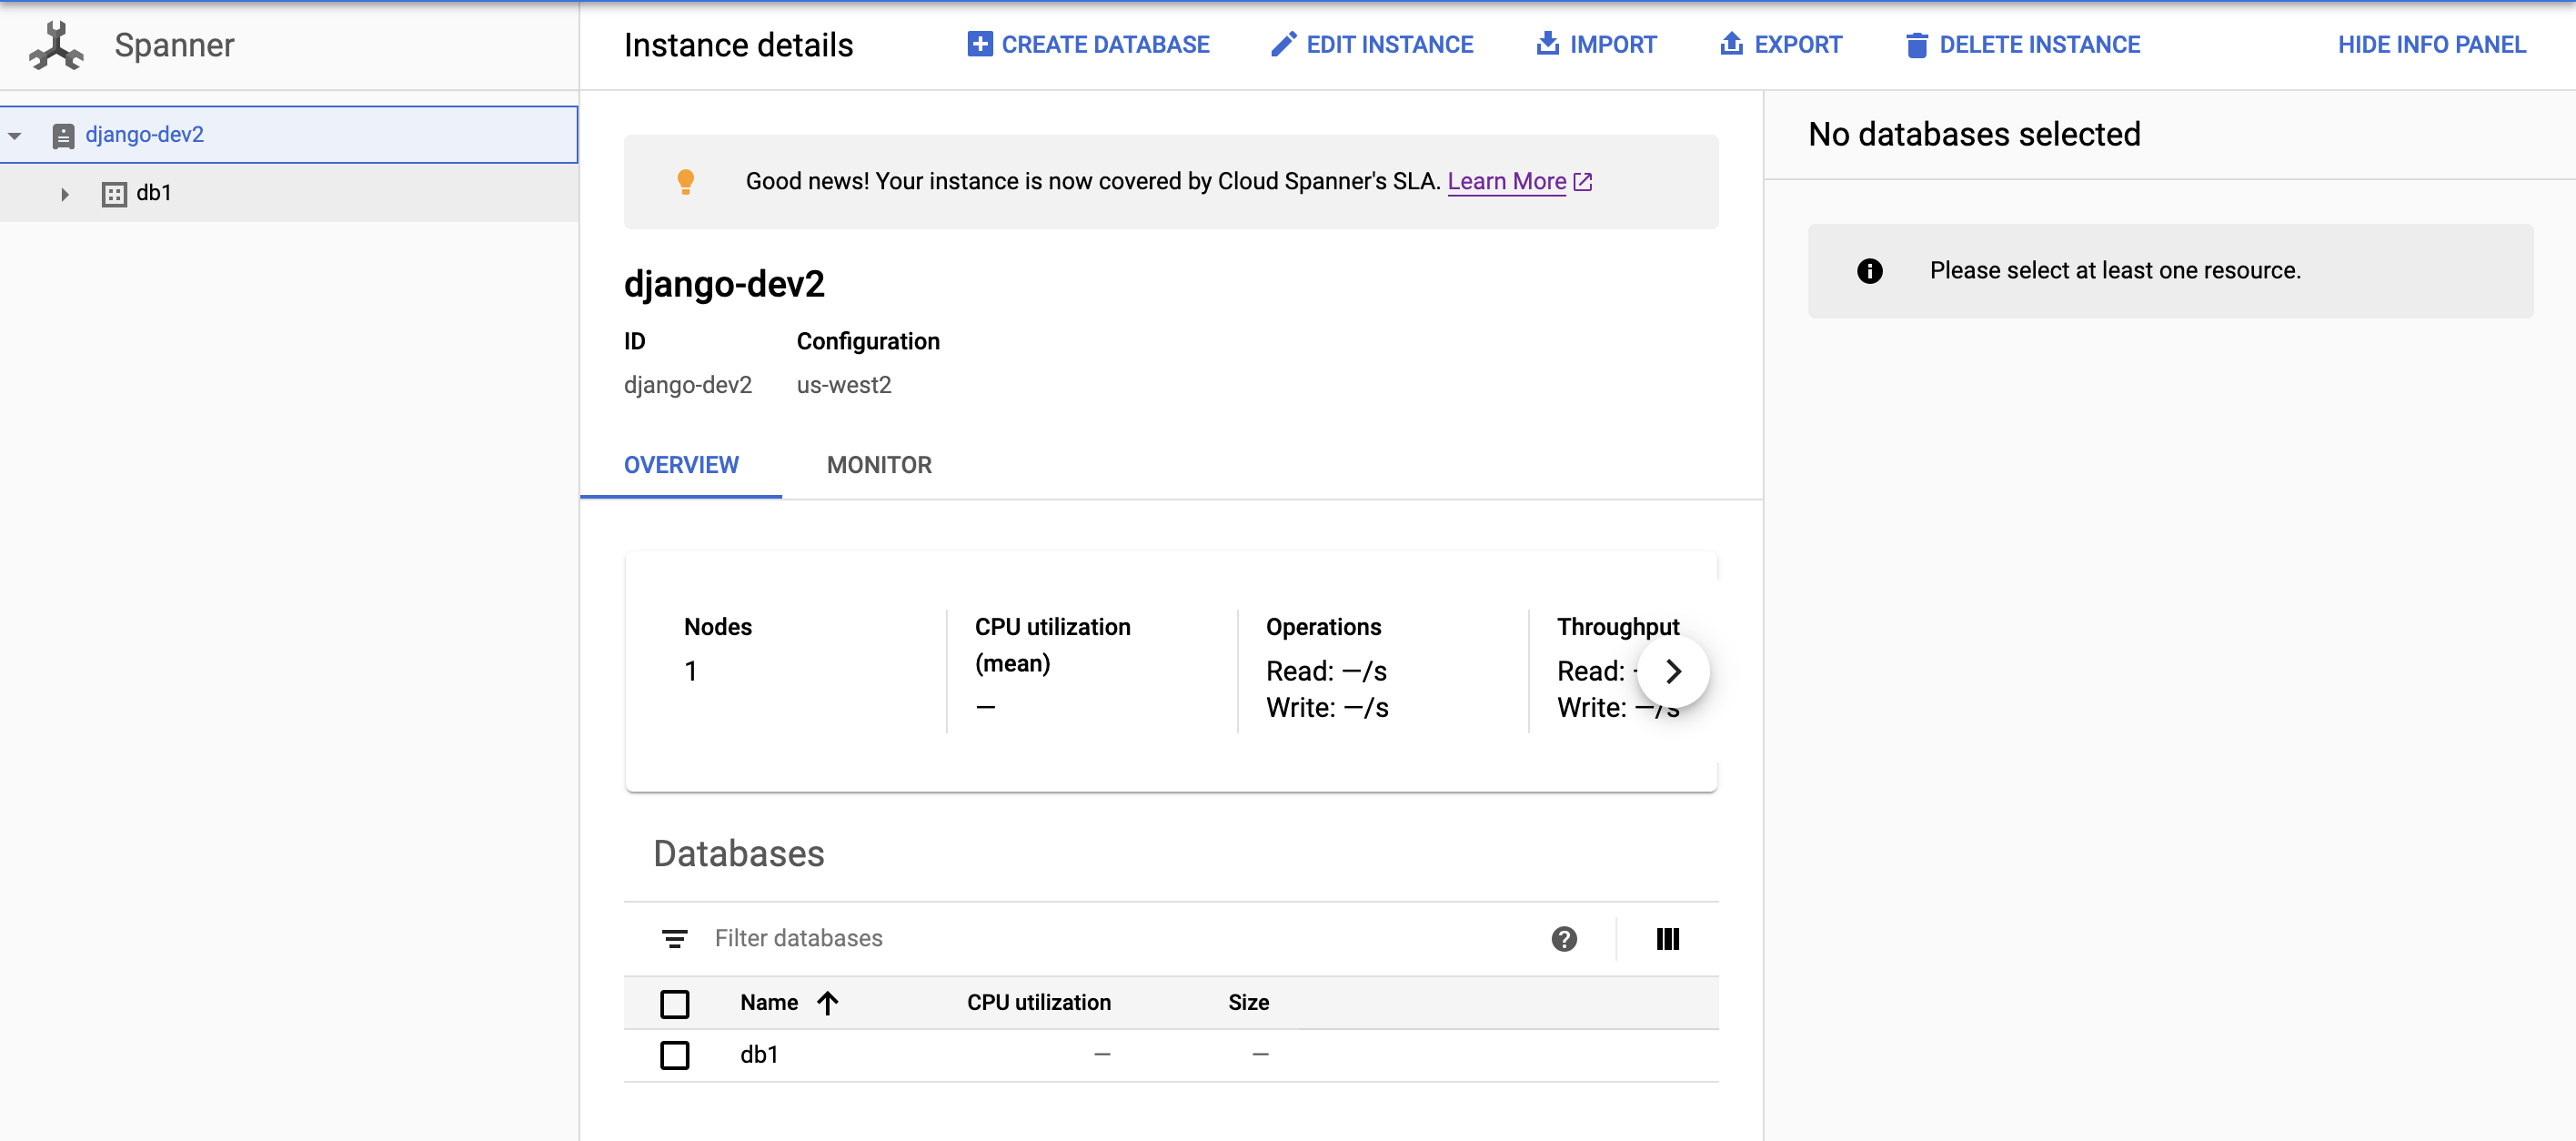
and the plain database:

Migrate
Now run
GOOGLE_APPLICATION_CREDENTIALS=creds.json python3 manage.py migratewhich will then produce
Operations to perform:
  Apply all migrations: admin, auth, contenttypes, sessions
Running migrations:
  Applying contenttypes.0001_initial... OK
  Applying auth.0001_initial... OK
  Applying admin.0001_initial... OK
  Applying admin.0002_logentry_remove_auto_add... OK
  Applying admin.0003_logentry_add_action_flag_choices... OK
  Applying contenttypes.0002_remove_content_type_name... OK
  Applying auth.0002_alter_permission_name_max_length... OK
  Applying auth.0003_alter_user_email_max_length... OK
  Applying auth.0004_alter_user_username_opts... OK
  Applying auth.0005_alter_user_last_login_null... OK
  Applying auth.0006_require_contenttypes_0002... OK
  Applying auth.0007_alter_validators_add_error_messages... OK
  Applying auth.0008_alter_user_username_max_length... OK
  Applying auth.0009_alter_user_last_name_max_length... OK
  Applying auth.0010_alter_group_name_max_length... OK
  Applying auth.0011_update_proxy_permissions... OK
  Applying sessions.0001_initial... OK
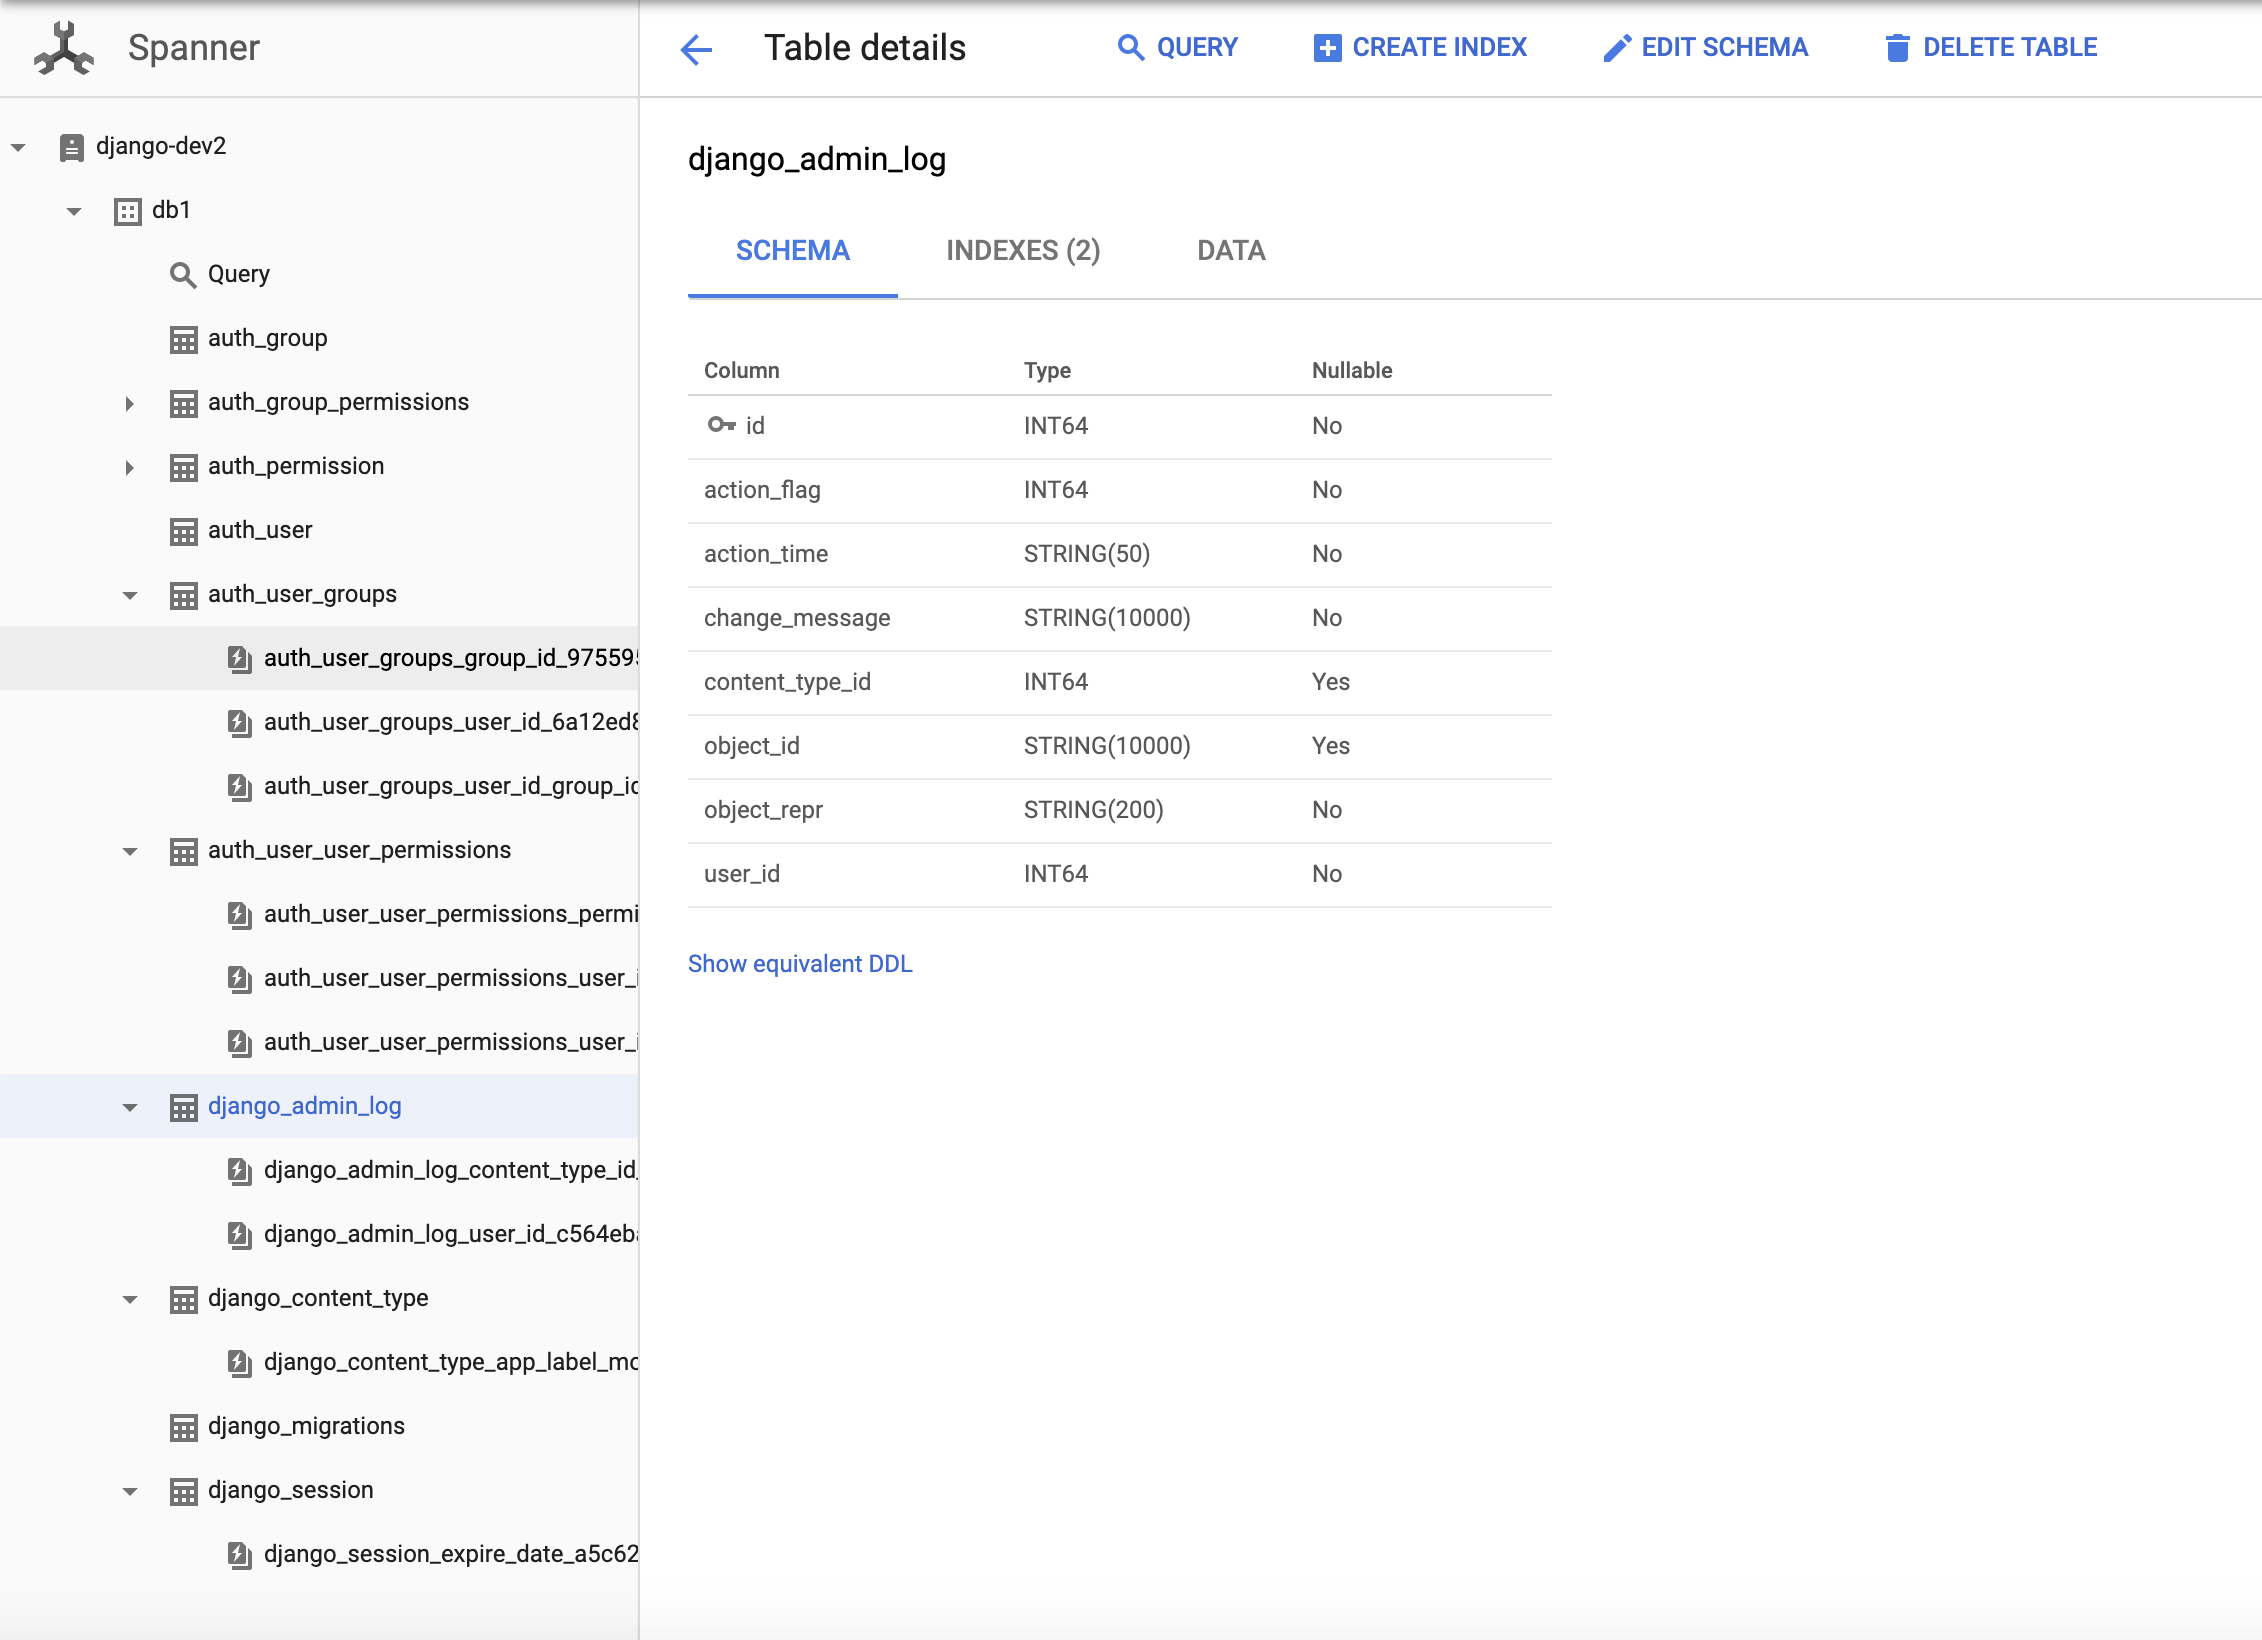
and at the end you should see the following tables and indices created in your Cloud Spanner console
Create models
polls/models.py
from django.db import models


class Question(models.Model):
    question_text = models.CharField(max_length=200)
    pub_date = models.DateTimeField('date published')


class Choice(models.Model):
    question = models.ForeignKey(Question, on_delete=models.CASCADE)
    choice_text = models.CharField(max_length=200)
    votes = models.IntegerField(default=0)
Activate models
Please edit your mysite/settings.py to look like this
INSTALLED_APPS = [
    'polls.apps.PollsConfig',
    'django.contrib.admin',
    'django.contrib.auth',
    'django.contrib.contenttypes',
    'django.contrib.sessions',
    'django.contrib.messages',
    'django.contrib.staticfiles',
]
Make migrations
The next step tells Django that we’ve made edits to your models and would like to store the changes as a migration.
GOOGLE_APPLICATION_CREDENTIALS=creds.json python3 manage.py makemigrations pollswhich should produce something like
Migrations for 'polls':
  polls/migrations/0001_initial.py:
    - Create model Choice
    - Create model Question
    - Add field question to choice
SQL migrate
To run the actual SQL migrations and automatically manage your database SQL schema, you’ll need to run:
GOOGLE_APPLICATION_CREDENTIALS=creds.json python3 manage.py sqlmigrate polls 0001which should produce something like
BEGIN;
--
-- Create model Choice
--
CREATE TABLE "polls_choice" (
    "id" serial NOT NULL PRIMARY KEY,
    "choice_text" varchar(200) NOT NULL,
    "votes" integer NOT NULL
);
--
-- Create model Question
--
CREATE TABLE "polls_question" (
    "id" serial NOT NULL PRIMARY KEY,
    "question_text" varchar(200) NOT NULL,
    "pub_date" timestamp with time zone NOT NULL
);
--
-- Add field question to choice
--
ALTER TABLE "polls_choice" ADD COLUMN "question_id" integer NOT NULL;
ALTER TABLE "polls_choice" ALTER COLUMN "question_id" DROP DEFAULT;
CREATE INDEX "polls_choice_7aa0f6ee" ON "polls_choice" ("question_id");
ALTER TABLE "polls_choice"
  ADD CONSTRAINT "polls_choice_question_id_246c99a640fbbd72_fk_polls_question_id"
    FOREIGN KEY ("question_id")
    REFERENCES "polls_question" ("id")
    DEFERRABLE INITIALLY DEFERRED;

COMMIT;
and then re-run migrate, like this
GOOGLE_APPLICATION_CREDENTIALS=creds.json python3 manage.py migratewhich will then create the new tables polls_question and polls_choice

Django shell
Following the step to play with the Django API, we can do the same here by
>>> from polls.models import Choice, Question  # Import the model classes we just wrote.
>>> Question.objects.all()
<QuerySet []>
>>> # Create a new Question.
>>> from django.utils import timezone
>>> q = Question(question_text="What's new?", pub_date=timezone.now())
>>> # Save the object into the database. You have to call save() explicitly.
>>> q.save()
>>> # It should now have an ID.
>>> q.id
2707035391428867408
>>> # Access model field values via Python attributes.
>>> q.question_text
"What's new?"
>>> q.pub_date
datetime.datetime(2019, 11, 26, 2, 55, 41, 298430, tzinfo=<UTC>)
>>> # Change values by changing the attributes, then calling save().
>>> q.question_text = "What's up?"
>>> q.save()
>>> # objects.all() displays all the questions in the database.
>>> Question.objects.all()
<QuerySet [<Question: Question object (2707035391428867408)>]>
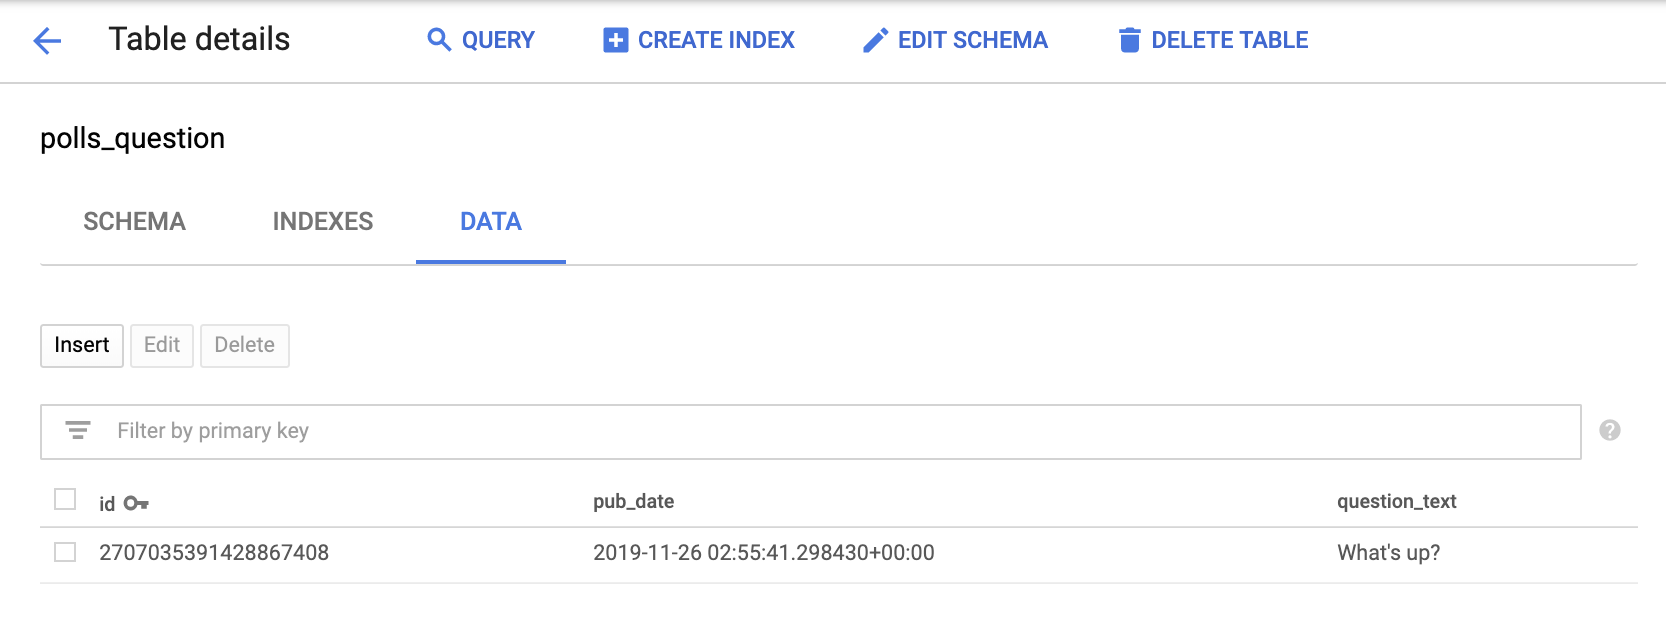
and this what Cloud Spanner showed the question before and after the edit
Before

After
Django admin
Following the Django admin instructions
Create the super user
GOOGLE_APPLICATION_CREDENTIALS=creds.json python3 manage.py createsuperuserwhich will then produce a prompt which will allow you to create your super user
Username: admin
Email address: admin@example.com
Password:
Password (again):
Superuser created successfully.
and now if we go to the Cloud Spanner data console page, we’ll see the auth_user table with data

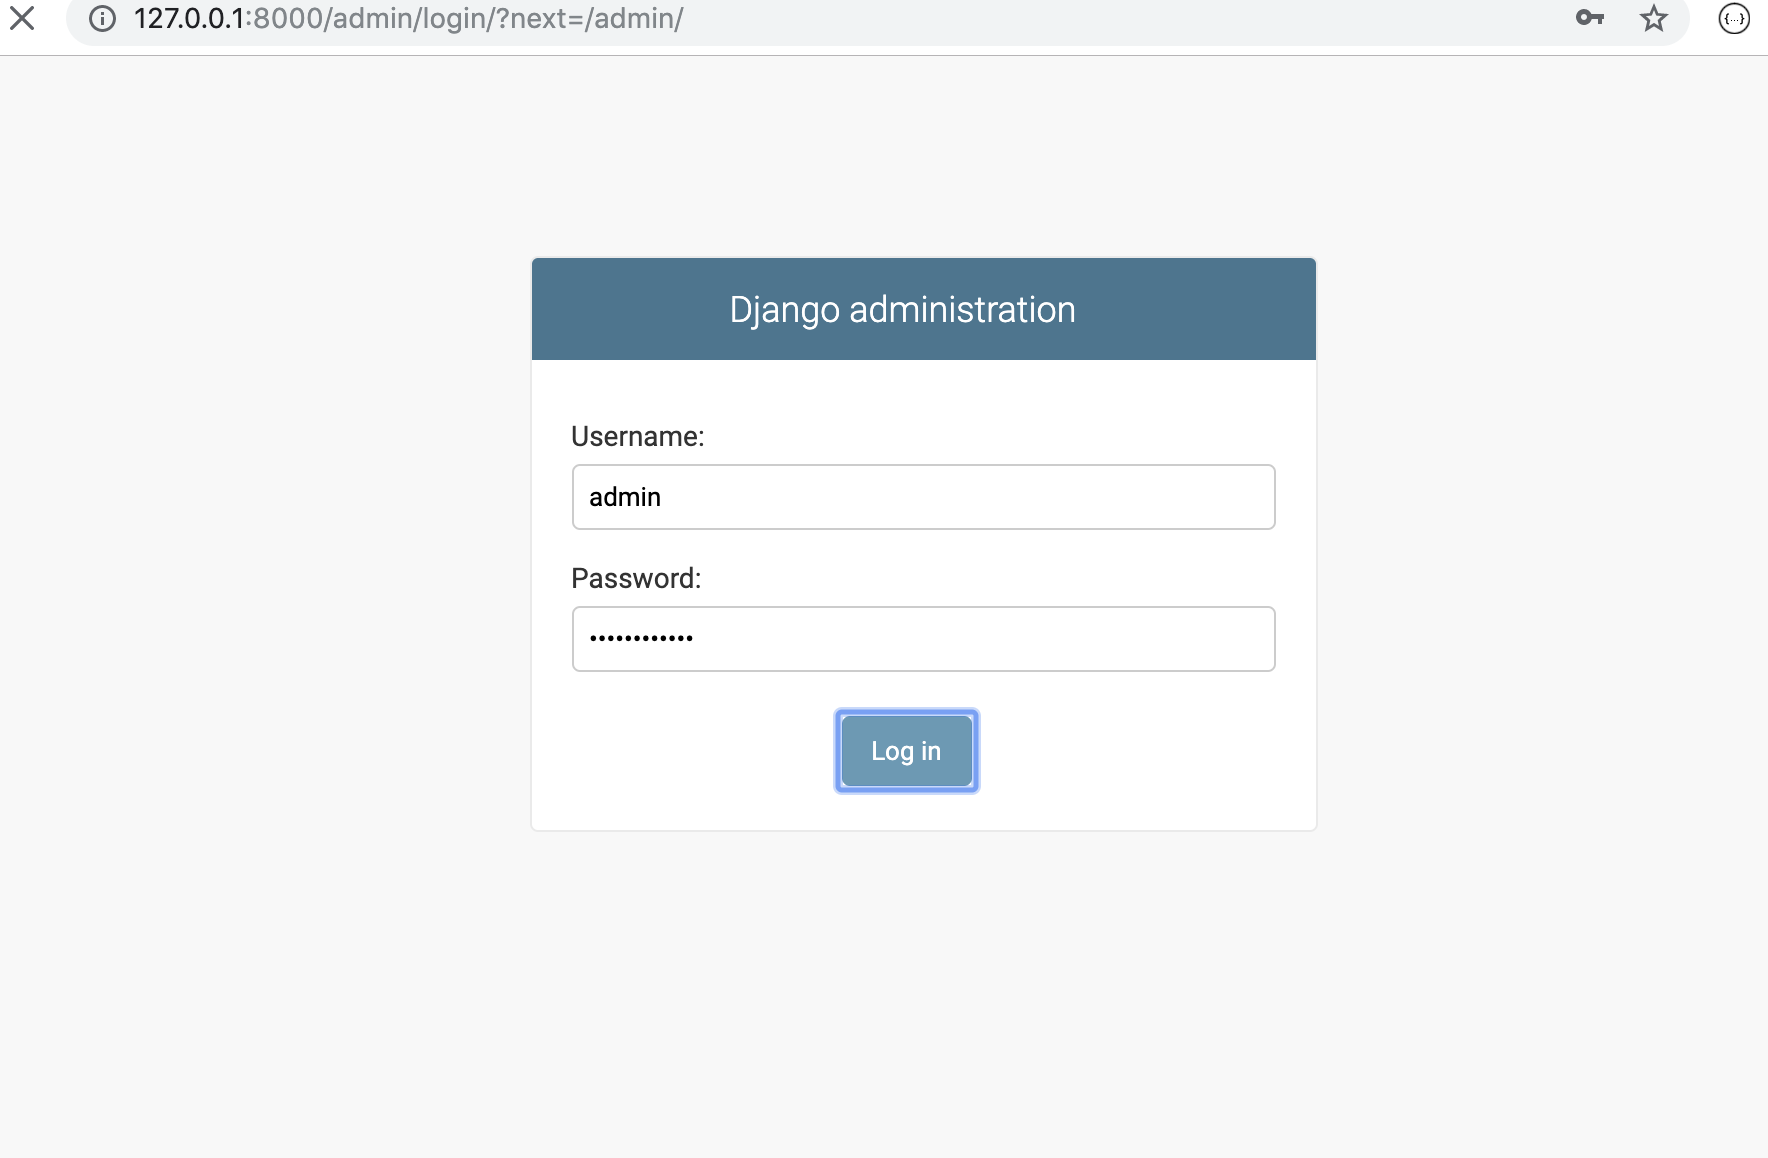
Login as admin
Let’s run the server
GOOGLE_APPLICATION_CREDENTIALS=creds.json python3 manage.py runserverand then go visit http://127.0.0.1:8000/admin/
Make the poll app modifiable in the admin console
Please edit your
polls/admin.py
from django.contrib import admin

from .models import Question

admin.site.register(Question)
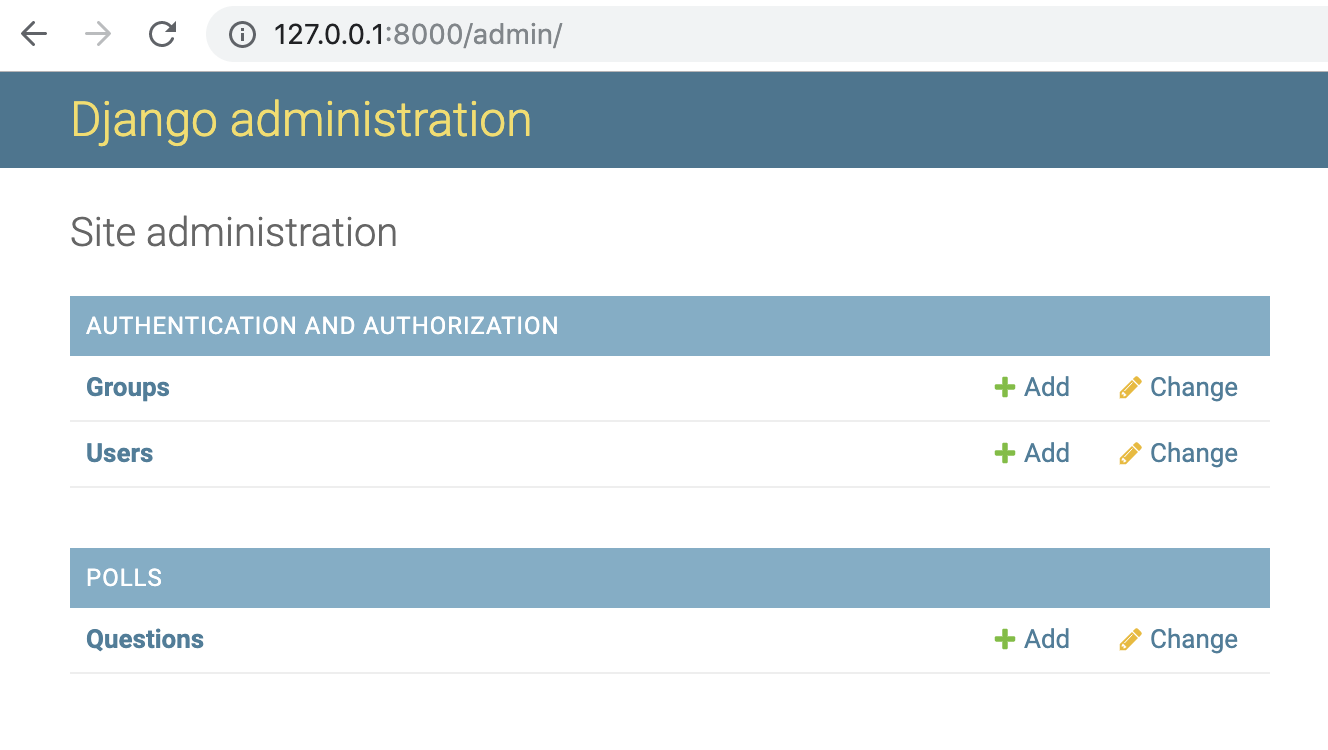
and on refreshing your admin page you should now see questions appear
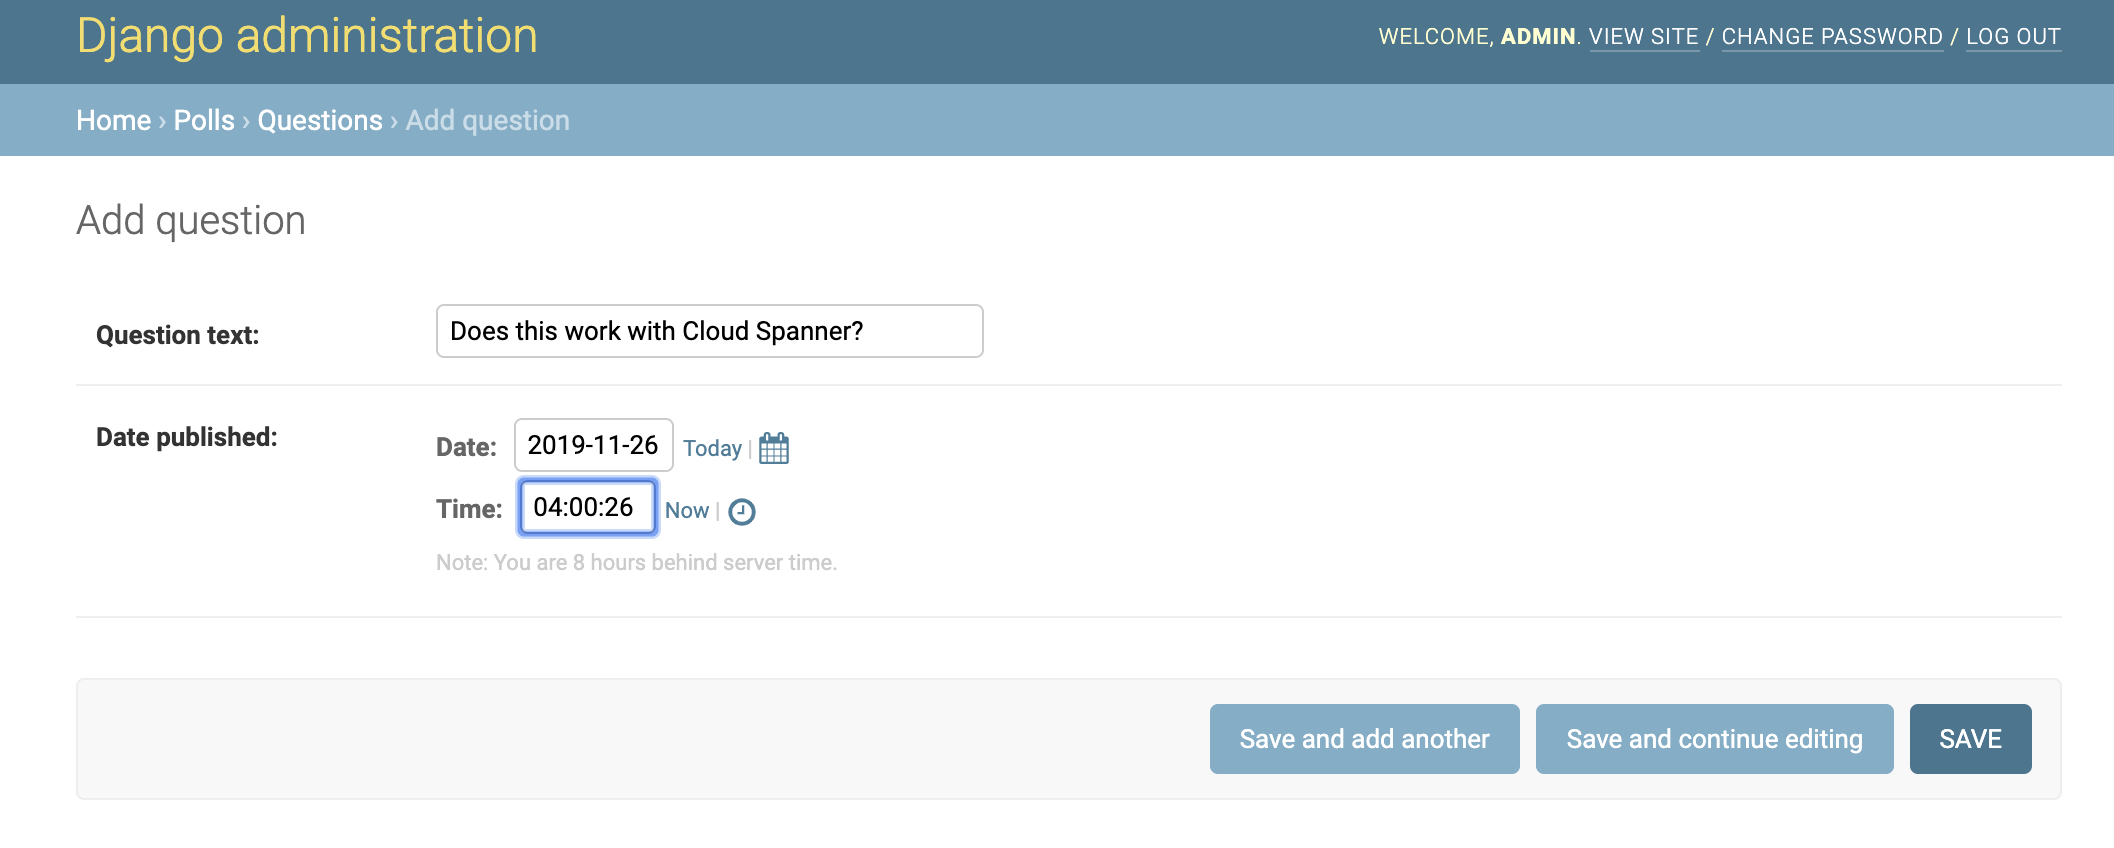
Add a question as an admin
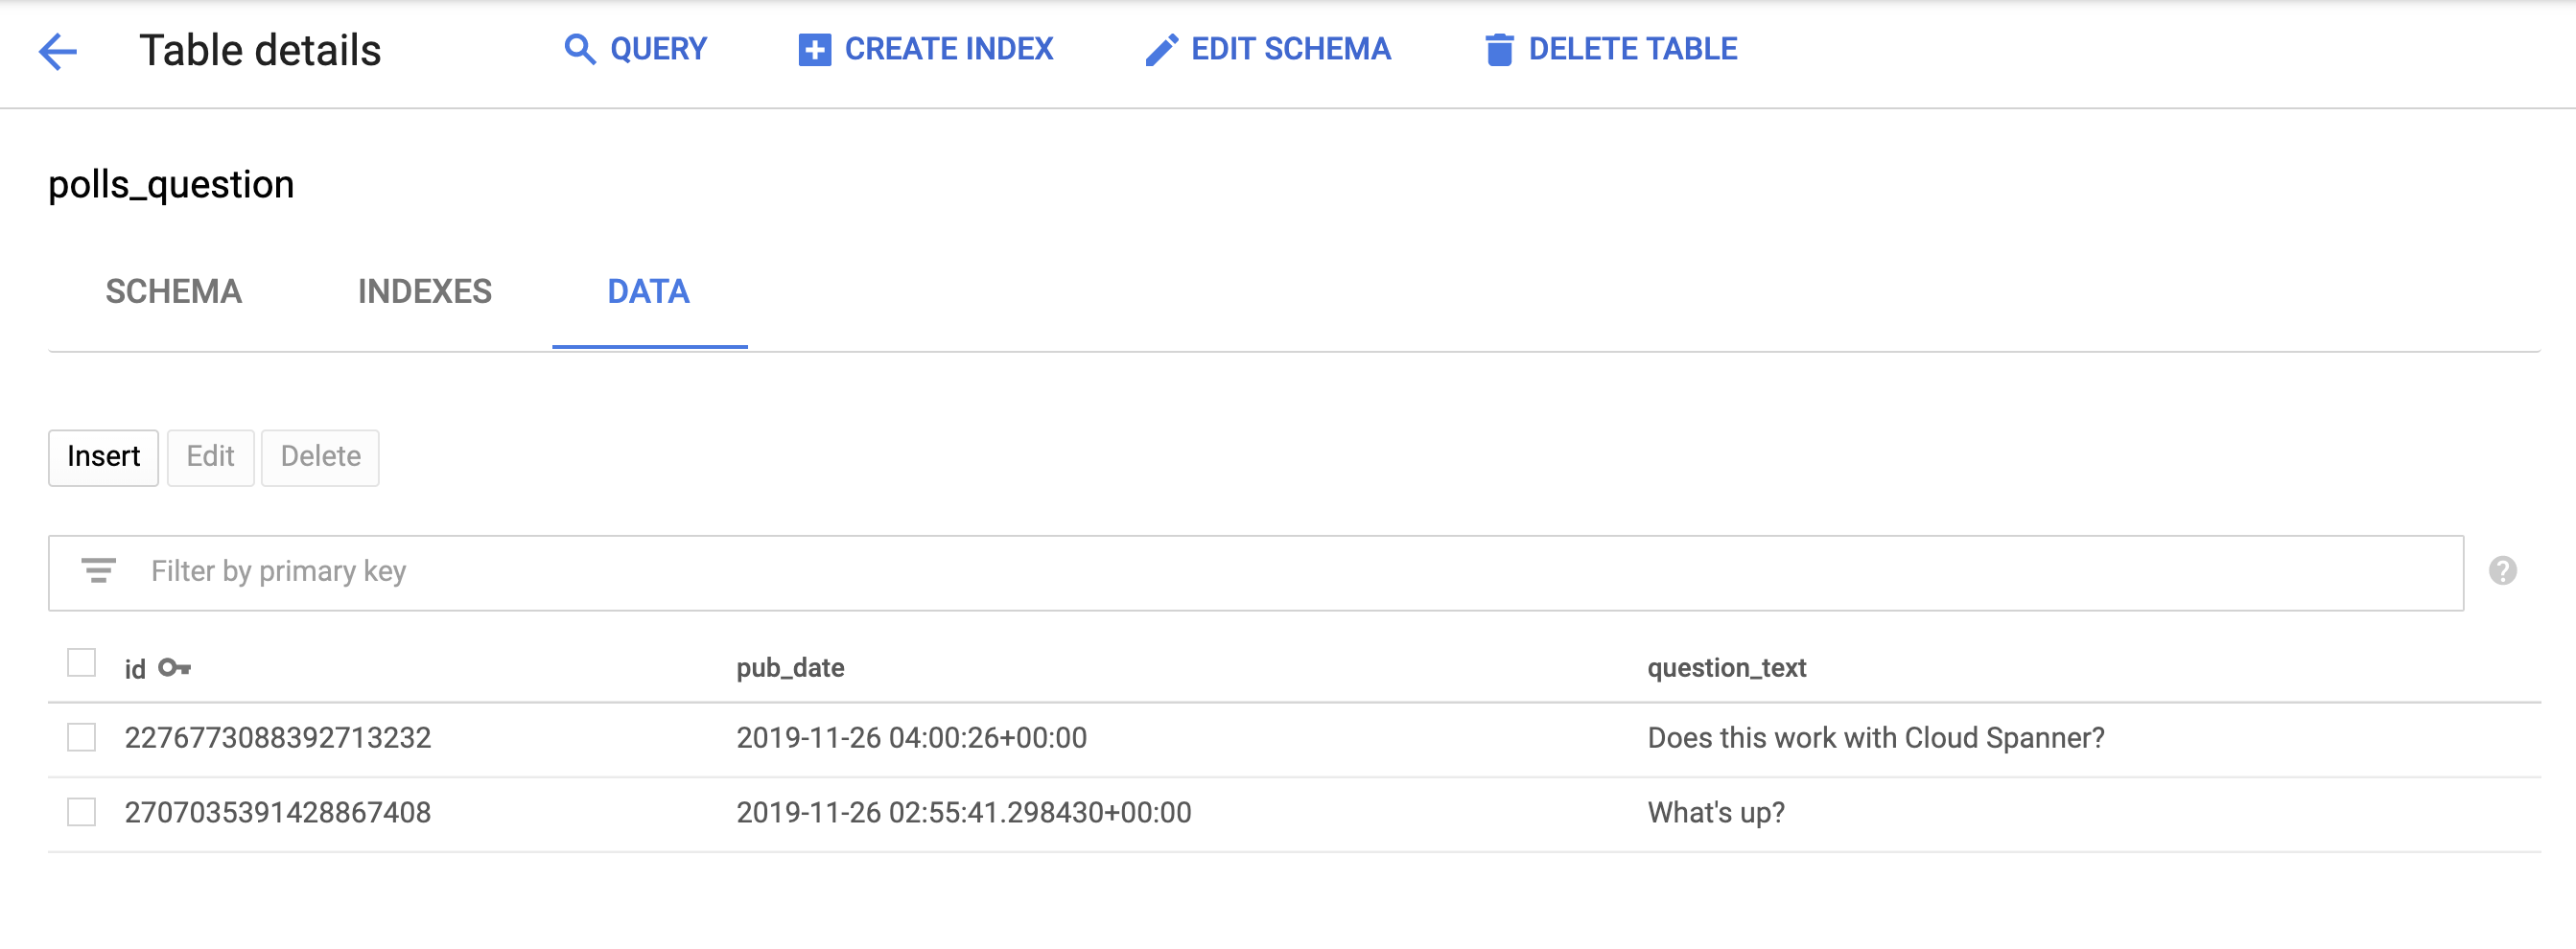
and on examining Cloud Spanner, we’ll see
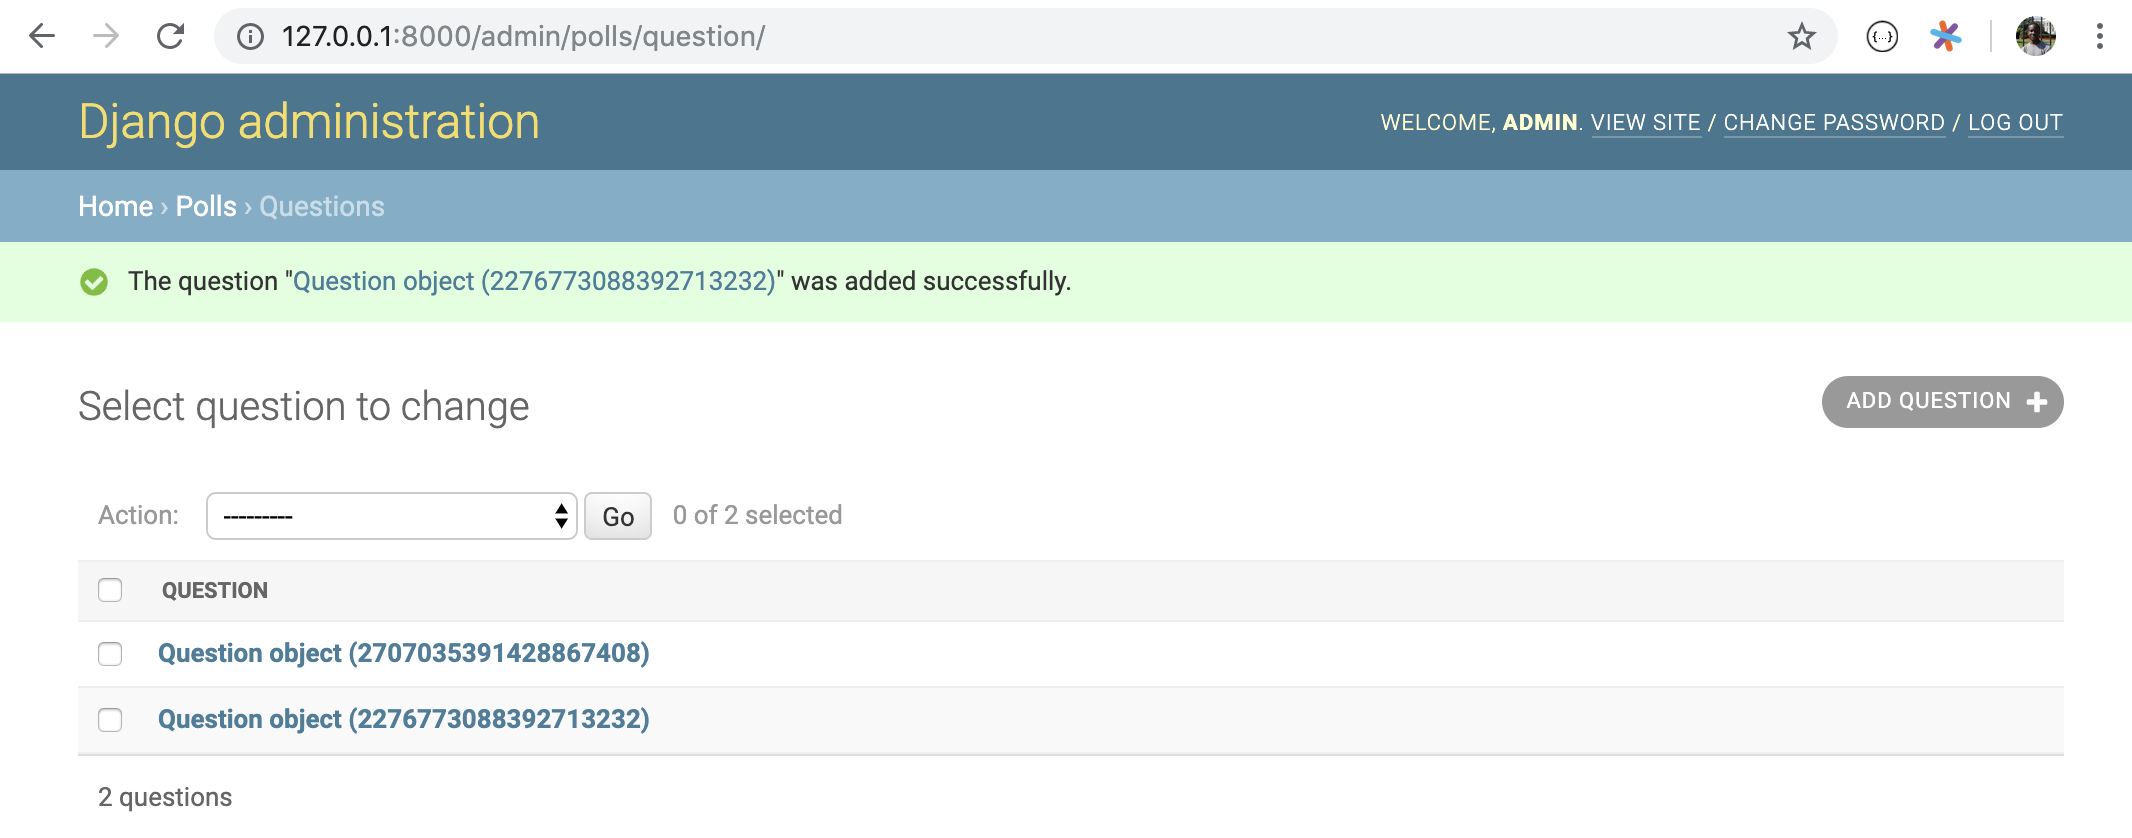
Listed questions
Rest of the tutorial
You can follow along with all the rest of the steps of the tutorial going onto advanced tutorials and periodically check your Cloud Spanner console, but ultimately with spanner-django, you’ll be able to use Cloud Spanner as the database for your Django applications!
